Friday, November 1, 2013

Halloween at Our House

I love fall traditions and Halloween! Maybe I love Halloween so much because it comes right smack in the middle of fall with all its gorgeous colored trees and nippy air and bright orange pumpkins in every storefront....or maybe I love it because it paves the way for Thanksgiving and my favorite holiday of all, Christmas. Or maybe because I just relish the sense of community it brings on Halloween night when the whole neighborhood sets out together to dress up in crazy costumes and ask each other for candy. Summer is always fun and relaxing, and then at the end of August is the sudden hustle of buying school supplies and new clothes and meeting new teachers...and then it seems that suddenly Halloween and the holidays are upon us. It's such an exciting time of year!

Halloween this year started out with me running to the store for groceries, and starting my day off cooking and baking as soon as I got back. Part of the fun of Halloween (and any celebration, really) is the anticipation and preparation.


As you can see, I kept the decorations up from Emma's Halloween-Birthday party last weekend.


Luke watched me patiently in the kitchen while I cooked, hoping that I would drop a yummy morsel every once in a while.

After the kids got home from school, they finished up their homework and we had an early dinner.

On the menu: 

Mummy Meatloaf with Blood Sauce
Witch's Fingers
Haunted Forest Trees

(My kids are teens now - well the 12yo is almost a teen - and they smirk and roll their eyes at my special names for Halloween food, but I know deep down they still love it.)


I thought the Mummy Meatloaf looked pretty awesome and disgusting. I found a picture of it on Pinterest and just had to make it. I used Pioneer Woman's meatloaf recipe, put the sauce on under the bacon mummy wraps, and used onion slices for the eyes and teeth.


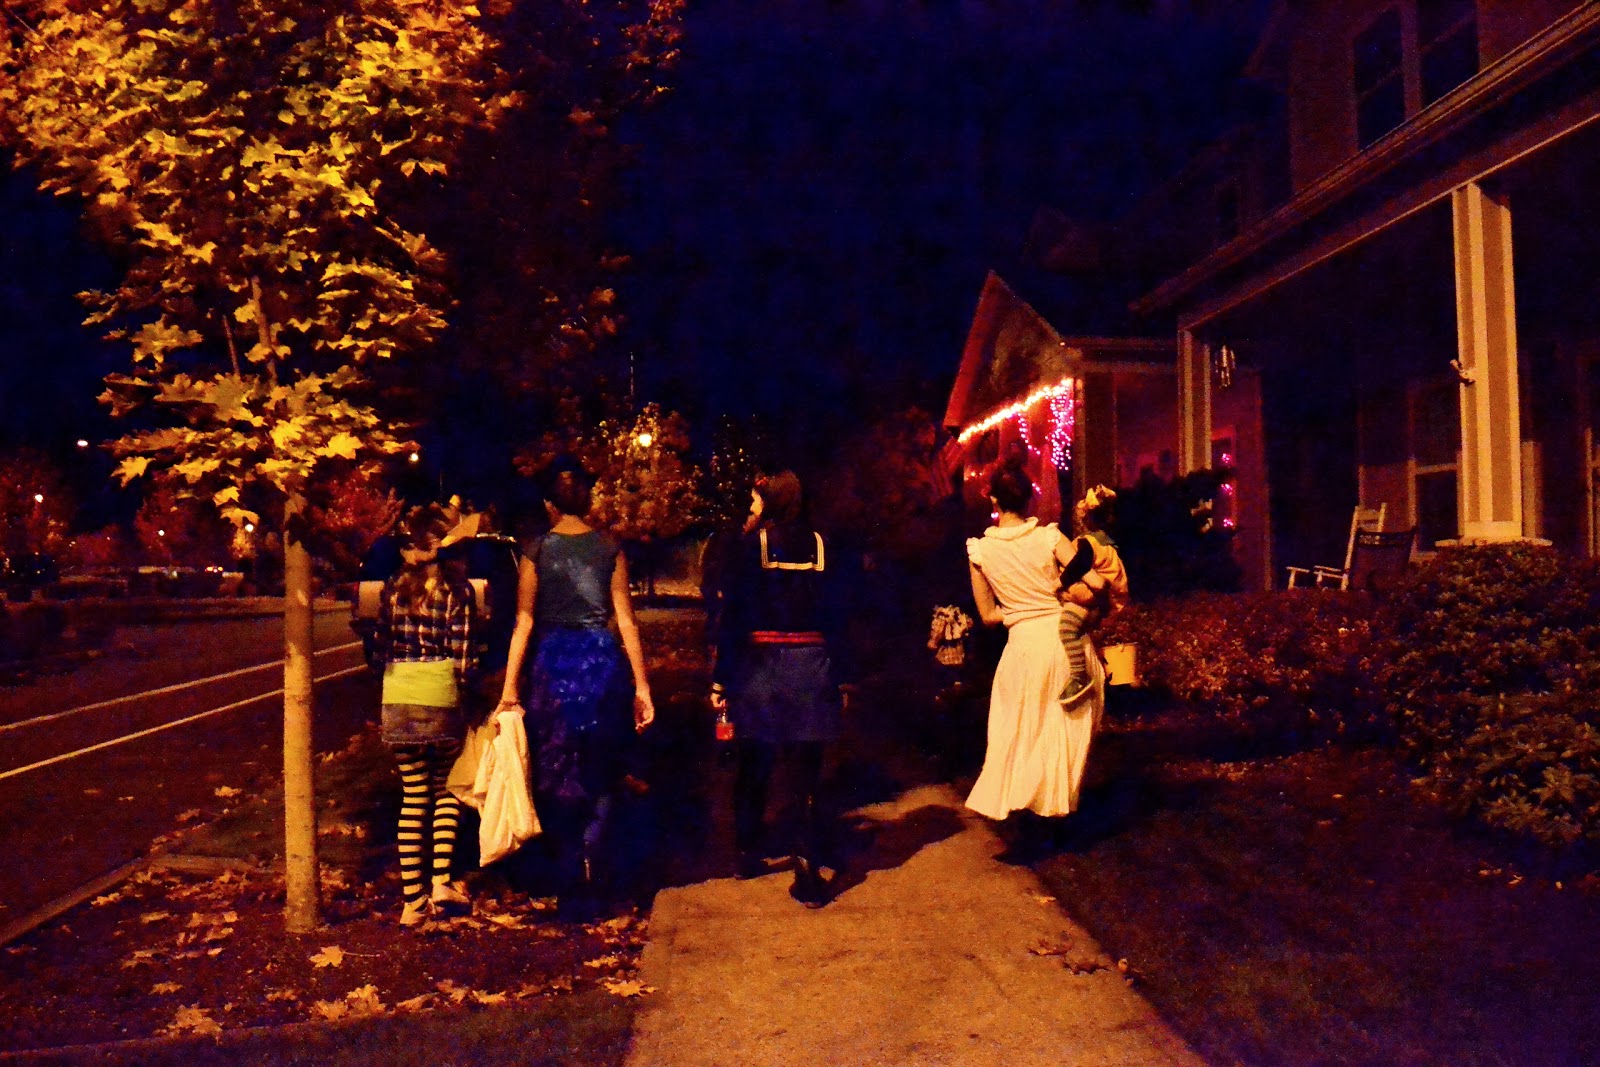
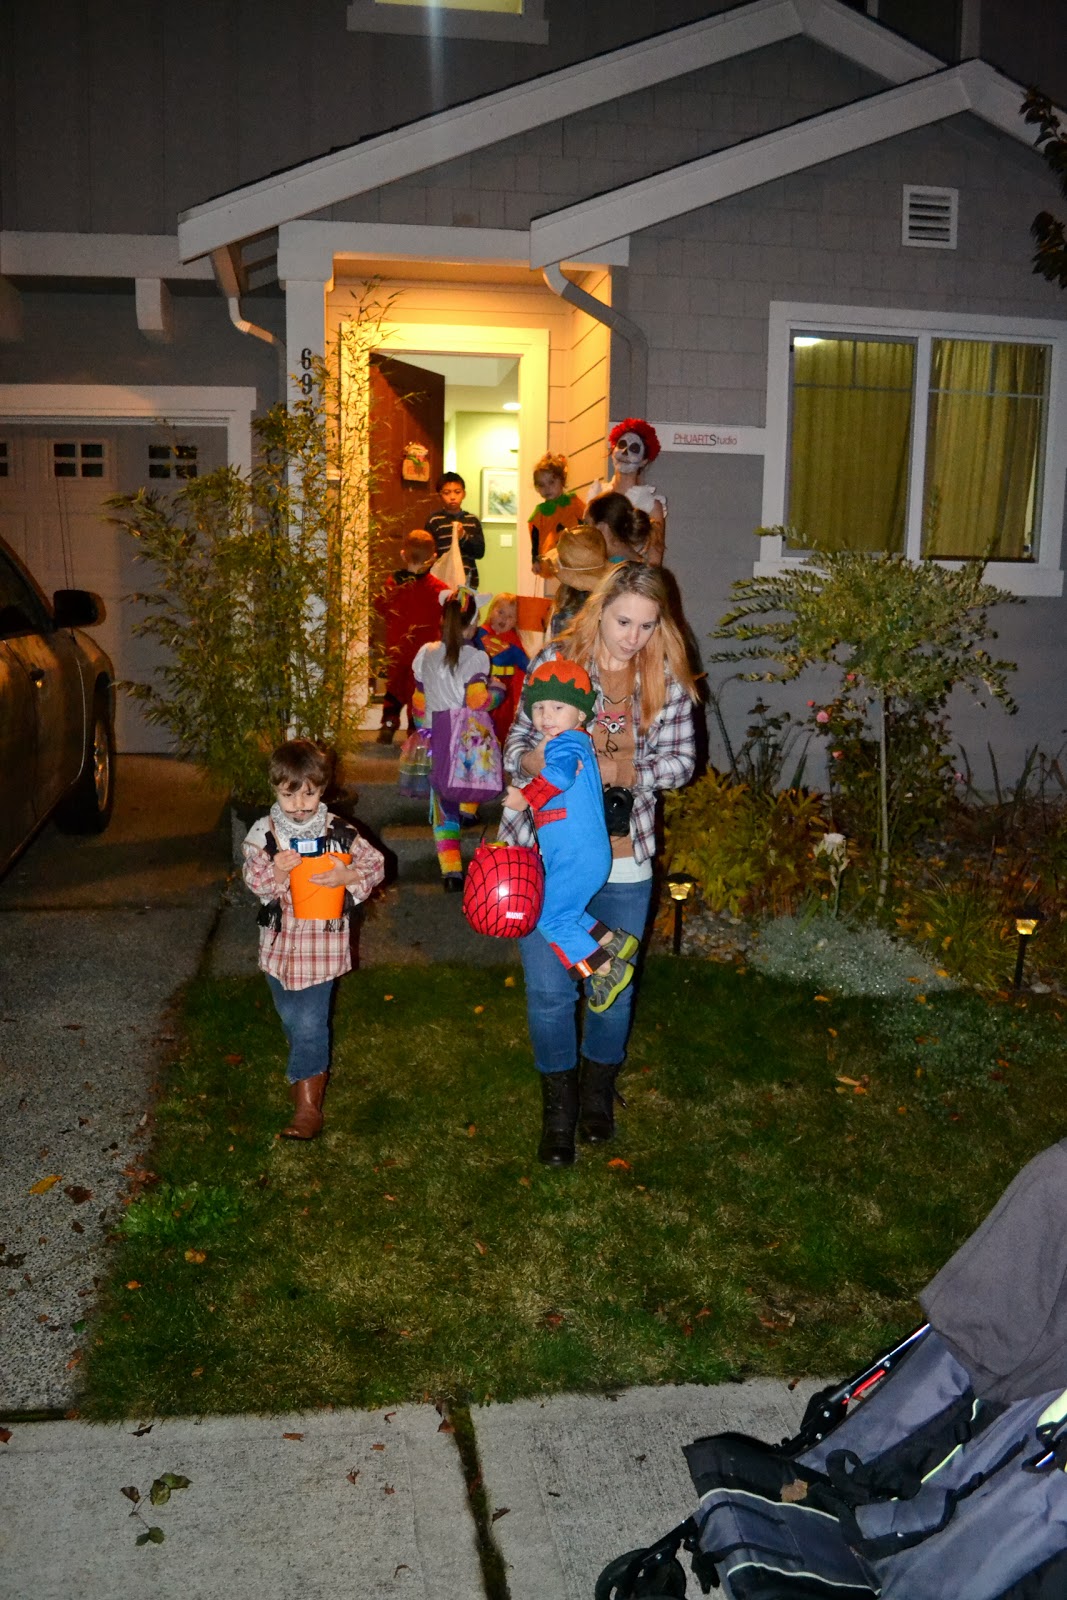
After dinner, my oldest daughter Whitney and her little family, along with some friends, came over and helped my girls with their makeup and costumes. Then the whole motley crew went trick or treating together.


You may notice my son's absence from the pictures after dinner. That is because he went with some friends from church to My Morbid Mind Haunted House, in lieu of trick or treating. He had a good time and said it was really cool (and not that scary), but I think he may be a little jealous of his sisters' huge stash of Halloween candy that now occupies the pantry.


Here's now a cowboy salute to all them hardworking....ummm...nevermind, just 'djustin' my hat.


Aren't Tori's victory rolls awesome?? Whitney did them!


While they were out trick or treating, Andy and I stayed back to hand out candy and get the snacks ready.


Nothing says "it's the holidays" like wassail!!! I found an amazing recipe here and it was a hit with everyone, young and old. I used locally made apple cider from Lattin Farms, which is the best apple cider you can get here. I added fresh-squeezed lemon juice, orange juice, cinnamon sticks, whole cloves, and a couple pinches of ground nutmeg and ginger. I put it in the slow cooker on low in the morning, and it brewed all day. The house smelled like autumn heaven by nightfall.


I love my cake. Every Halloween since about 2003 or so, I make a "graveyard cake." This year I added a pretzel fence, some green coconut grass (rather than only green frosting!), a dirt path made of crushed Oreos, and some darling little meringue ghosts. The gravestones are made with Pepperidge Farms Milano Double Chocolate Cookies. I learned how to do the meringue ghosts here. They were really easy to make, though time consuming - and I did follow the recipe to a "T" since I had never made them before. I really had fun putting the cake together, and it's my favorite one out of all the ones I've made through the years.


Must-haves on Halloween: candy corn and roasted pumpkin seeds. This year, I made sweet and salty pumpkin seeds from this recipe. Thank you again, Pinterest, I love you!

Soon everyone came back and I stopped them at the door to take pictures.


Can you find me in the picture? :)


I was duly impressed with Whitney's Dia de Muertos makeup! To die for.


After the trick or treaters came back and I forced them to pose for pictures, I found this little guest staring at the cake. I asked, "Do you like the cake?" and he said, "I just can't wait to eat it!" He didn't have to wait long!


 She wanted that ghost.


Whitney made Sky's peacock skirt and tail! And look at my living room in the background....this cracks me up! It's really not too messy, considering we had seven active little kids, ages 6 down to 2 in the house! (No, a small cowboy did not get knock-kneed and then vaporize into the air.)


Now....only 28 days until Thanksgiving! Woohoo!!!

Tuesday, October 29, 2013

How to Make Restaurant-Style Salsa


One of my favorite snacks is salsa with crispy tortilla chips. I usually have some salsa made up in the fridge at any given time, and if not, I usually have the ingredients on hand to whip some up. If you've never made your own salsa before, I'm going to show you how.  I call this "restaurant style" because Mexican restaurants always have good salsa - they make it fresh right there at the restaurant! You just can't buy anything like it in a store. And it's so easy, once you make your own, you'll never go back to buying it in a jar.

What you will need:

1 can (14.5 oz.) diced tomatoes (regular, or fire-roasted)
1 can (4 oz.) green chilies
1 small can (8 oz.) tomato sauce
1 clove garlic, peeled
1/2 sweet yellow onion
1 or 2 jalapeno peppers
1 ripe tomato
1 teaspoon Kosher salt
1 teaspoon sugar
Pepper, to taste
Dash ground cumin
1 "handful" fresh cilantro

First, give your cilantro a bath by immersing in a bowl of cool water. Allow to sit in the water while you prepare your other ingredients.


Then transfer to a strainer and rinse with cool water.


Now place your garlic alone in the food processor and chop into tiny pieces.


Chop your tomato into chunks, and dice your jalapeno by first slicing longways into slender "sticks," then slice horizontally. Even though I will be putting my jalapeno into the food processor, I always dice it first, just to be sure we don't get any large chunks of jalapeno left in the salsa.


We like our salsa hot, so I do not remove the seeds from the jalapeno. I also try to pick out a nice, hot jalapeno to use. You can tell this one is hot because of the little white lines running up and down the pepper. If you like a mild salsa, pick out a bright green jalapeno with no white lines. Remove the seeds by cutting the jalapeno in half vertically, then use a spoon to scrape out the seeds and some of the pulp (which is also hot). Then you can enjoy the flavor of the jalapeno without the heat.


Now put your tomatoes and jalapenos into the food processor with the garlic.


I forgot to put sugar in my picture of the ingredients. Sugar isn't necessary if you are using a very ripe, naturally sweet tomato (say, from the farmer's market, or your garden) - but most tomatoes I buy from the store need a little help.


 Add the canned tomatoes, green chilies, tomato sauce, salt, pepper, cumin, and sugar. Whir in food processor for about 30 seconds, until all ingredients are well-blended.


Now add the cilantro and pulse every few seconds, until cilantro is chopped and mixed well. Note: be sure to use the pulse feature for this step, which keeps the salsa from getting too watery.


After the cilantro has been chopped and blended, dice your half onion by hand. Transfer the salsa into a serving bowl and stir in the diced onion. I have learned not to use the food processor with the onion, as it will make the salsa too watery.


Give it a good stir, and it is ready to eat!


Our favorite tortilla chips are Juanita's brand. Oh so good!

Just like a Mexican restaurant. :)  Cover tightly and it will keep for a week in the fridge, if it doesn't get eaten up before then. I like to keep mine in a Mason jar.

 The aftermath. Time to clean up!